Part 3 The Tools
 |
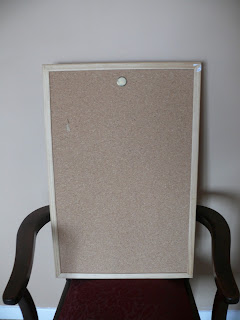
| The tools I use. Right cork pin board |
Free form can use different thickness, different texture and different fibre yarns so you will need different size hooks and yarn needles. The pin board is a way of organising and arranging the patches until you are happy with the effect. When I crochet I prefer a hook with a handle whereas Vicky always uses a sraight hook, but for some techniques you can only use a straight hook and the Macdonalds straw is essential but this is for part 6 'More advanced techniques and patches'
My method of making a free form piece is to make lots of small patches and then lay them down on the pin board, changing their positions until a particular combination pleases me. This is usually a small area which I then sew or crochet together. The inspiration for the small patches can come out of my head, from some of the free online patterns or from the book by Renata Kirk Patrick. (which actually belongs to Vicky) or the down loadable booklet by Prudence Mapstone - this is not free but it is really worth looking at her work - she is a real expert and her art is amazing.
But this is free form you can do what you like, your edges do not need to be straight and your mistakes can become part of the pattern -I love it!

Part 4 The first patches
 So as I said having made a few motifs, I try them in different arrangements until I find something I like. I suspect most people are more organised than this and have a plan in advance of starting the crochet - but this is free form so we do whatever we feel like! Hooray!


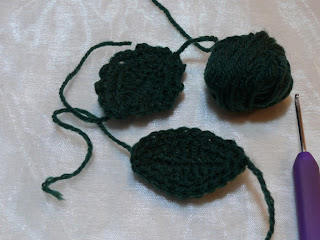
These are called domes or pop-corns. The way I make them is to make a magic circle then
ROW 1: 3ch and work 12 tr into the circle. Join with a ss to the third of the three ch.
ROW 2: Then 1ch and then work 1dc in each stitch to the end, join with a ss to the first ch.and fasten off.
But as I keep saying this is free form try making the first row 12 htr or 12 dc. Try working the second row in the back loops only. Make your dome taller by making the second row half trebles or even trebles. Have fun experiment.

This one is called a wing and is quite tricky but you can find out how to do it here. Number #7 leads you to how to make spiral flowers and all you have to do is stop half way.

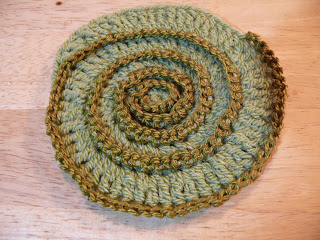
1. 10ch turn
2. ss in second ch from hook, dc in next ch, htr in next, tr in next 2 hdtr in next ch, then tr, htr, dc, ss
3. 2ch then work up the other side of the starting ch. ss, dc, htr, tr, 2hdtr, tr, htr, dc, ss. Then ss into point of leaf.
4. You can fasten off now if you want a smooth edged leaf or you can do another round working in back loops only (dc, dc, 2ch ) all around your leaf.
If all this feels a bit daunting, Vicky has made a guided free form pattern for a note book cover to get you started.
Next time Part5: crocheting directly on to the scumble.
Part 6: more complicated patches and techniques.